Step 2: Text and Theme Configuration
Customize the appearance and messaging of your email widget to match your brand and engage your audience effectively.
Overview
The Text and Theme tab provides customization options for content and visual appearance with a live preview panel that updates in real-time.
Text Configuration
Core Content
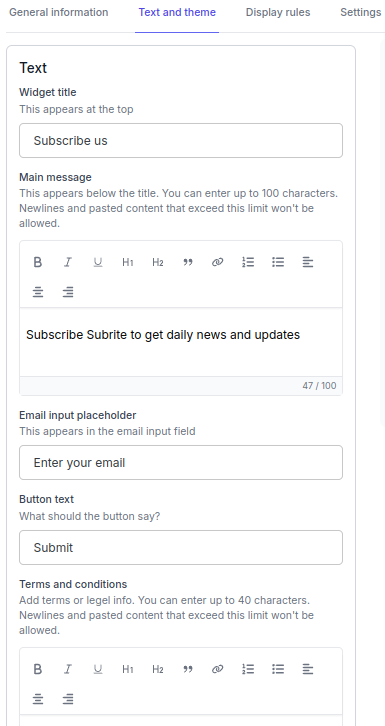
- Widget Title: Main heading displayed at the top of the popup
- Main Message: Descriptive text explaining the value proposition (100 character limit, rich text formatting)
- Email Input Placeholder: Text shown in the email input field before user types
- Button Text: Text displayed on the submit button
- Terms and Conditions: Legal text or links for compliance (40 character limit, rich text formatting)
User Feedback Messages
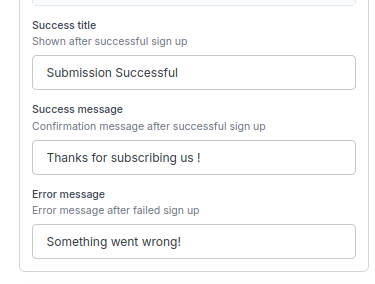
- Success Messages:
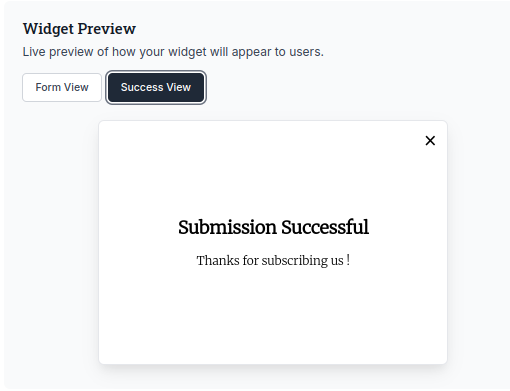
- Success Title: Heading shown after successful signup
- Success Message: Confirmation message
- Error Message: Text shown if signup fails
Theme Configuration
Visual Elements
- Primary Color: Color of the submit button
- Text Color: Color for the text of the submit button
- Background Color: Widget background color (default: white #ffffff)
- Primary Font: Select from brand kit (no custom font uploads available)
Controls and Options
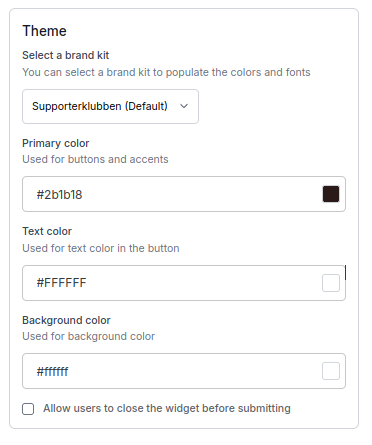
- Show Close Button: Toggle visibility (default: enabled)
- Last Saved Theme: Option to revert to previously saved configuration
- Brand Kit Integration: Apply consistent branding across all widgets
Preview Functionality
Live Preview Panel
- Purpose: Shows exactly how your widget will appear to users
- Features: Real-time updates, responsive design, form/success view toggles
Preview Modes
- Form View: Widget appearance before user interaction
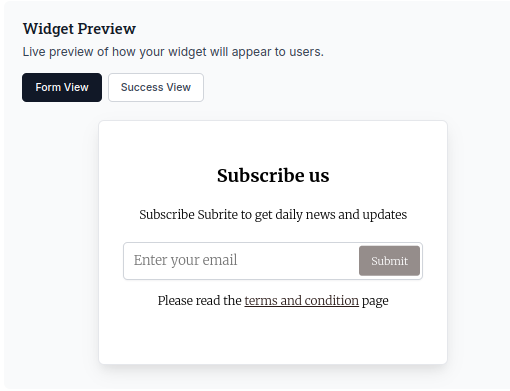
- Success View: Widget appearance after successful submission
Next Steps
After configuring text and theme:
- Set Display Rules: Define when and how the widget appears
- Configure Settings: Activate and manage widget status
- Review General Information: Check basic details and consent
- Embed on Website: Get integration code for your site